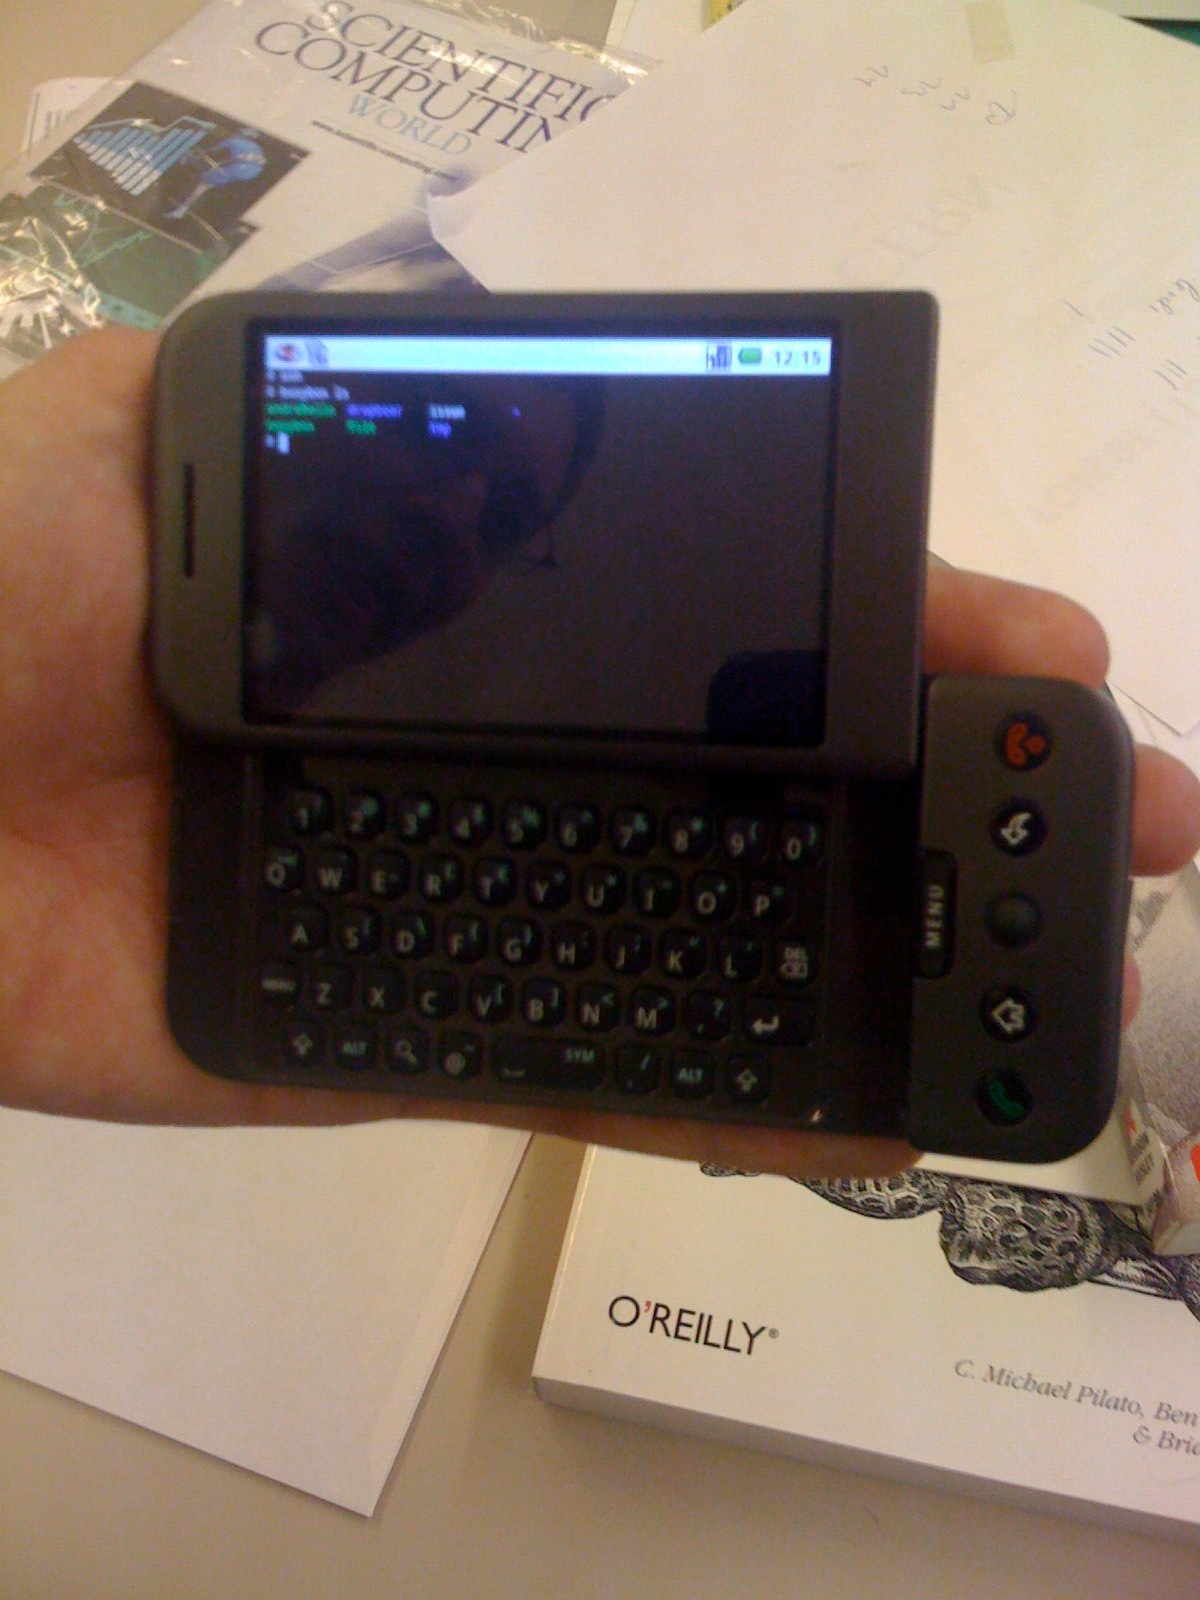
Rumours say it has a Linux underneath. Well, almost. There is a full and recent Linux kernel, but this is pretty much it. We have a small subset of standard tools (like ls, ps), a minimalistic libc (called Bionic, not compatible to glibc), a non-standard directory hierarchy, a non-standard linker, and all the Dalvik-Java-Stuff, of course.
So it looks all nice and pretty, but how to get a terminal? For now, we connect via USB. We need the Android SDK, in particular the Android Debug Bridge (adb). This tool connects to virtual and physical Android machines that run the adbd daemon (on the phone we turn it on and off in Settings – Applications – Development – USB Debugging). Now we can connect by adb shell, and since this is Dev Phone we get root access just by su. By adb push we can upload files. In order to upload to /system/somewhere we have to remount /system in rw-mode first.
Now, how to build software for this thing? We have to keep two things in mind:
grep, sed, awk, a neat little shell, …). Just don't forget to configure it for static linking.
Again, how to get a terminal, a real one, not via USB? We have to circumvent the Java sandbox and we will do so by “loop-back-ssh” to localhost. With ConnectBot there is a fine, free ssh client for Android. Which means, we have to get an ssh server running on the phone.
We choose Dropbear, since it is small and has clean code. In principal, it runs fine on Android, except you cannot connect. Well, this is because Android has no user database (/etc/passwd). So all the functions of the getpwnam() family fail. In general, Android seems to use UIDs in order to shield applications from each other, which makes sense; usually you don't share your mobile with other people. To make it run, we patch the code a little and introduce a single user mode. Basically, all the information you find in the user database will be specified on the command line for a specific user. I made a patch for Dropbear 0.521. It supports password authentication and public key authentication. To make it work, we additionally have to turn off login recording, which can be done by
./configure --disable-loginfunc --disable-utmp --disable-utmpx --disable-wtmp --disable-wtmpx --disable-lastlog
And here we go. A fully functional ssh daemon. Let's start it twice, with password authentication on 127.0.0.1:22 and with public key authentication on 0.0.0.0:<MySshPort>
dropbear  -A -N root -U 0 -G 0 -C <password> -r <rsa.secret>  -p 127.0.0.1:22

dropbear  -A -N root -U 0 -G 0 -C nothing -R /sdcard/id_rsa.pub -r <rsa.secret>  -p <MySshPort> -s

We will compile and run a batch ROOT v5-22-00 system. In order to access it anywhere we want to, we use our Dropbear loop-back ssh setup. I am not sure whether it is possible to cross-compile. At least it requires some efforts because ROOT uses CINT to create dictionaries during the build process. Thus we stick to the armel virtual machine.
We have to patch the code a little bit, namely we avoid the getpwnam() call for discovering the home directory in TUnixSystem. Just hardcode the home directory to /data/local. There are some other places which make use of getpwnam(), and to make the whole thing running properly, we probably have to patch a little more. But to get it started without errors we are fine now.
Now we configure and make. We configure a minimal ROOT system, which basically means we turn everything off (--disable-<something>). We will use make static to create a static roota binary. Doing so straight forward will fail. The binary gets too big for the linker to do all the relocations. As we have no X11 graphics anyway, we can exclude a couple of packages, thereby shrinking the binary to about half of the size. We edit build/unix/makestatic.sh and add to the exclusion paths:
geom/gdml geom/geom geom/geombuilder geom/geompainter montecarlo/vmc montecarlo/eg \

graf2d/freetype graf2d/gpad graf2d/graf graf2d/postscript graf2d/win32gdk graf2d/x11 graf2d/x11ttf \

tree/tree tree/treeviewer tree/treeplayer tmva \

proof/proofplayer proof/proof \

math/mlp math/splot html hist/spectrumpainter hist/histpainter \

gui/fitpanel gui/ged gui/gui gui/guibuilder gui/guihtml gui/recorder gui/sessionviewer \

graf3d/g3d graf3d/x3d
In order to link against glibc and dl, we add -static to the roota build command. Finally, after running the modified make static, we strip the symbols which should result in a more or less 30MB binary.
We run into a storage problem, if we try to upload everything to let's say /data/local. Unfortunately we cannot run software from the sd-card. We tackle this by a hybrid approach: we upload the build tree to the sd-card and the roota binary to /cache. Since ROOT needs a /tmp directory, we create one. Busybox' mount understands -o remount,rw which lets us change the root file system. Finally we export ROOTSYS=/sdcard/root and boot up our little Android ROOT.